Windows 10 boasts valuable features, providing comfortable tools for user PCs and safeguarding confidential data. However, to secure Windows 10 effectively, understanding its vulnerability due to its dominance in the market—with over 85% of user devices—is crucial. This operating system has many vulnerabilities that attackers actively exploit. Below is a useful guide with essential tips to help you enhance your Windows security.
Secure Windows 10: Useful Tips
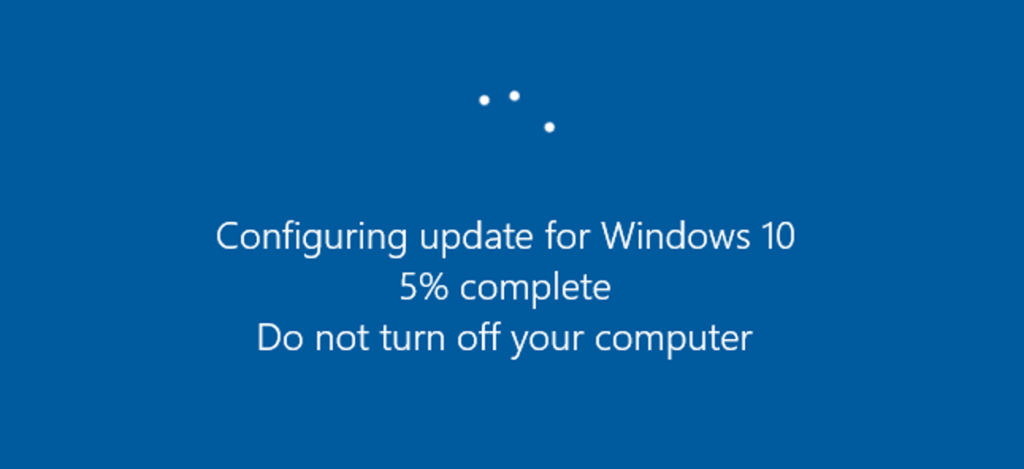
1. Update Your Software Regularly
Regular updates are essential to secure Windows 10 from hackers. By updating Windows and all your software, you prevent hackers from accessing your computer. Developers create updates to shield private information by fixing code bugs and eliminating incompatibilities. As a result, larger software packages often contain vulnerabilities that hackers are more likely to discover and exploit.
Each time attackers discover new loopholes or methods to hack into systems, developers release new versions of these crucial updates. Unfortunately, many users neglect these updates, sticking with outdated software versions, which hackers exploit to breach security.
2. Turn on Your Firewall
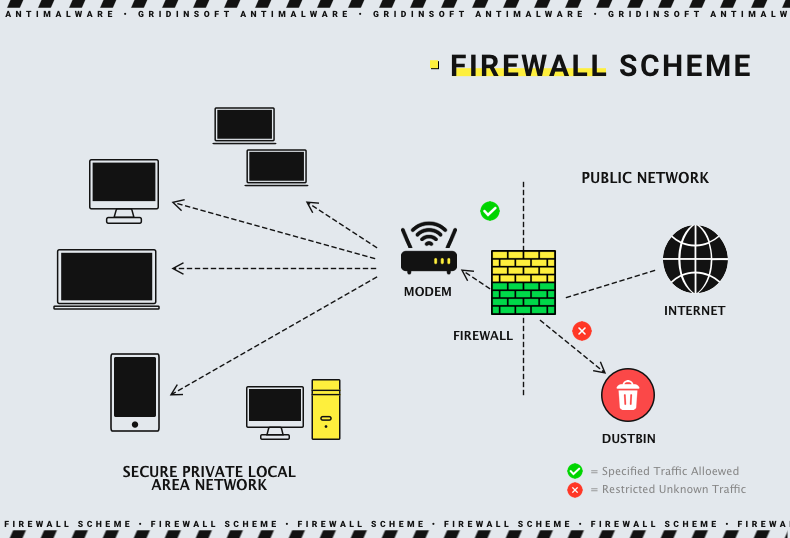
The Windows Firewall is a robust network security system integrated into recent Windows operating systems, including Windows 10, designed to protect internal networks from external threats like intruders or malware. It scrutinizes both hardware and software, tracking incoming and outgoing traffic. The firewall allows or blocks data packets based on established security rules, acting as a crucial barrier to secure Windows 10 from any incoming threats.
Follow these steps to enable the Windows 10 Firewall and protect your computer:
1. Open Control Panel:
- Click the Start menu.
- Type Control Panel in the search bar and select it from the list of results.
2. Navigate to Windows Firewall:
- In the Control Panel, click on System and Security.
- Then click on Windows Defender Firewall.
3. Turn on Windows Firewall:
- On the left side of the screen, click on Turn Windows Defender Firewall on or off.
- Under both the Private network settings and Public network settings, select the option to Turn on Windows Defender Firewall.
- Click OK to save your settings and activate the firewall.
3. Use Device Encryption or Bitlocker to Protect Your Hard Drive
Encryption works by scrambling data with a complex cipher that makes the information unreadable without the correct password. Many versions of Windows 10 Home include Windows Device Encryption. This feature allows you to encrypt files and folders on demand and create disk partitions to store encrypted bulk data, greatly enhancing your chances to secure Windows 10 and maintain the integrity of your files. However, be aware that using disk encryption utilities might slow down weaker systems or those equipped with HDDs, as these tools can impact performance.
Here are the steps to set up BitLocker on your Windows 10 device:
1. Check if BitLocker is Available:
- Open the Control Panel.
- Navigate to System and Security > BitLocker Drive Encryption.
- If BitLocker is not available, your version of Windows may not support it, or your hardware may lack a Trusted Platform Module (TPM) chip.
2. Turn On BitLocker:
- Choose the drive you want to encrypt from the list.
- Click Turn on BitLocker.
- BitLocker will check if your system meets the requirements for encryption.
3. Choose How to Unlock at Startup:
- You will be asked how you want to unlock the drive at startup. Options typically include using a password or a smart card.
- Choose Use a password to unlock the drive and enter a strong password.
4. Save Your Recovery Key:
- BitLocker will prompt you to save a recovery key, which can be used to access your encrypted drive if you forget your password.
- You can save it to your Microsoft account, a file, a USB drive, or print it.
- It’s crucial to save the recovery key in a secure location separate from your computer.
5. Choose Encryption Options:
- Select whether to encrypt the used disk space only (faster and best for new PCs and drives) or the entire drive (best for PCs and drives already in use).
- Click Next to continue.
6. Start the Encryption Process:
- Review your choices and click Start encrypting.
- The encryption process can take several hours, depending on the size of the drive and the data stored on it.
Once BitLocker is enabled, your drive is protected. Every time you start your device, you will need to enter the password or have the smart card to access the encrypted drive. This ensures that your data is secure even if your device is lost or stolen.
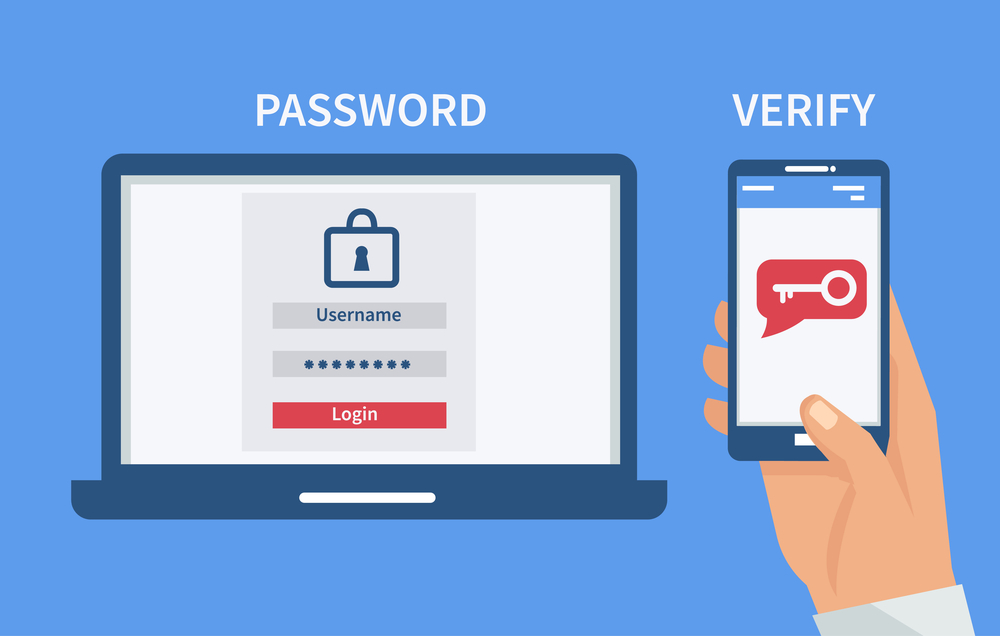
4. Use a Secure Password Manager with Two-Factor Authentication (2FA)
Simple passwords make user accounts vulnerable to hacks, making it crucial to use passwords that combine a complex array of letters and characters for enhanced protection. Remembering all these complex passwords can be challenging, which is why it’s wise to use a password manager. These tools store, auto-fill, and generate passwords for you. Most password managers also support two-factor authentication (2FA), adding an extra layer of security. This additional step might involve something like a fingerprint, a confirmation code sent to your phone, or a facial scan—essential measures to secure Windows 10 against unauthorized access.
5. Enable Controlled Folder Access to Prevent Ransomware Attacks
Ransomware attacks are a significant threat to personal and organizational data security. Windows 10 offers a robust feature called Controlled Folder Access within Windows Defender Security Center. This feature helps protect valuable data from malicious apps and threats, such as ransomware. By default, it protects common folders where documents, pictures, videos, and files are stored, and you can also add additional folders to be monitored to enhance protection.
To enable Controlled Folder Access, simply go to the Windows Defender Security Center, click on ‘Virus & threat protection,’ and navigate to the ‘Ransomware protection’ section. From there, you can switch on Controlled Folder Access. This simple step can significantly secure Windows 10 by blocking unauthorized applications from making changes to your protected folders.
How to protect your files from ransomware attacks by enabling Controlled Folder Access:
1. Open Windows Security Settings:
- Click on the Start menu.
- Type Windows Security in the search bar and open the app.
2. Navigate to Virus & Threat Protection:
- In the Windows Security window, click on Virus & threat protection.
3. Access Ransomware Protection:
- Scroll down and find the Ransomware protection section.
- Click on Manage ransomware protection.
4. Enable Controlled Folder Access:
- In the Ransomware protection settings, find the Controlled folder access section.
- Switch the toggle to On to enable Controlled Folder Access.
5. Manage Protected Folders:
- After enabling Controlled Folder Access, you can add or remove folders that you want to protect.
- Click on Protected folders and then use the Add a protected folder button to select folders on your computer that you wish to protect.
6. Allow Apps Through Controlled Folder Access:
- If you have legitimate apps that need to make changes to protected folders, you can allow them through this feature.
- Under Allow an app through Controlled folder access, click on Add an allowed app and select the app you trust to make changes to protected folders.
7. Review and Test:
- Once you’ve configured your settings, review everything to ensure it’s set up correctly.
- Test the feature by attempting to modify files in the protected folders with a non-allowed application to check if the access is correctly blocked.
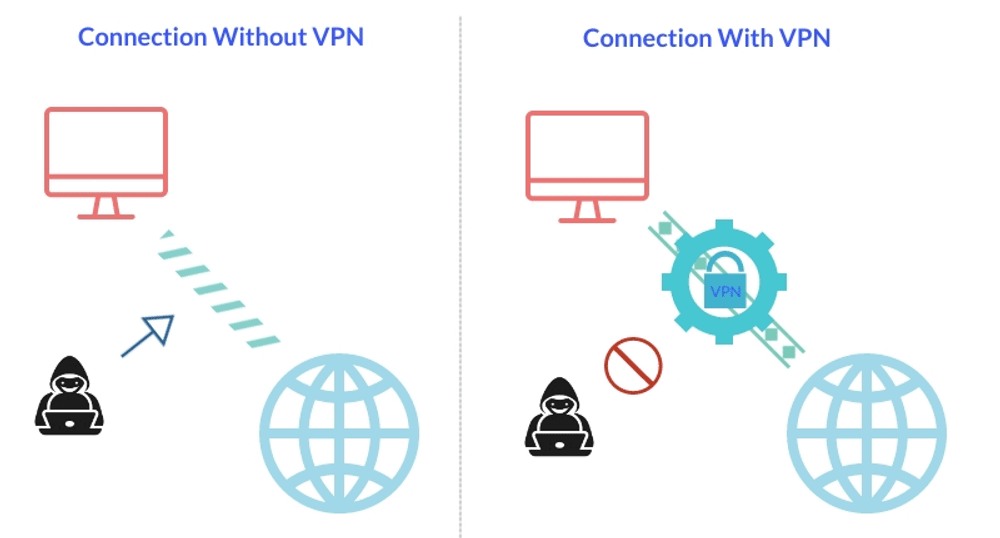
6. Keep Your Browsing Private with a VPN, Especially on Public Wi-Fi
Using a VPN can significantly enhance your privacy and anonymity online by creating a private network from a public Internet connection. This security method not only masks your IP address but also makes your online activities nearly impossible to track. Moreover, a VPN provides a more encrypted and secure connection than a typical Wi-Fi hotspot. By creating a secure tunnel, a VPN helps conceal your browsing activities, allowing you to access region-blocked websites without exposure. This is an essential step to secure Windows 10 when using public WiFi.
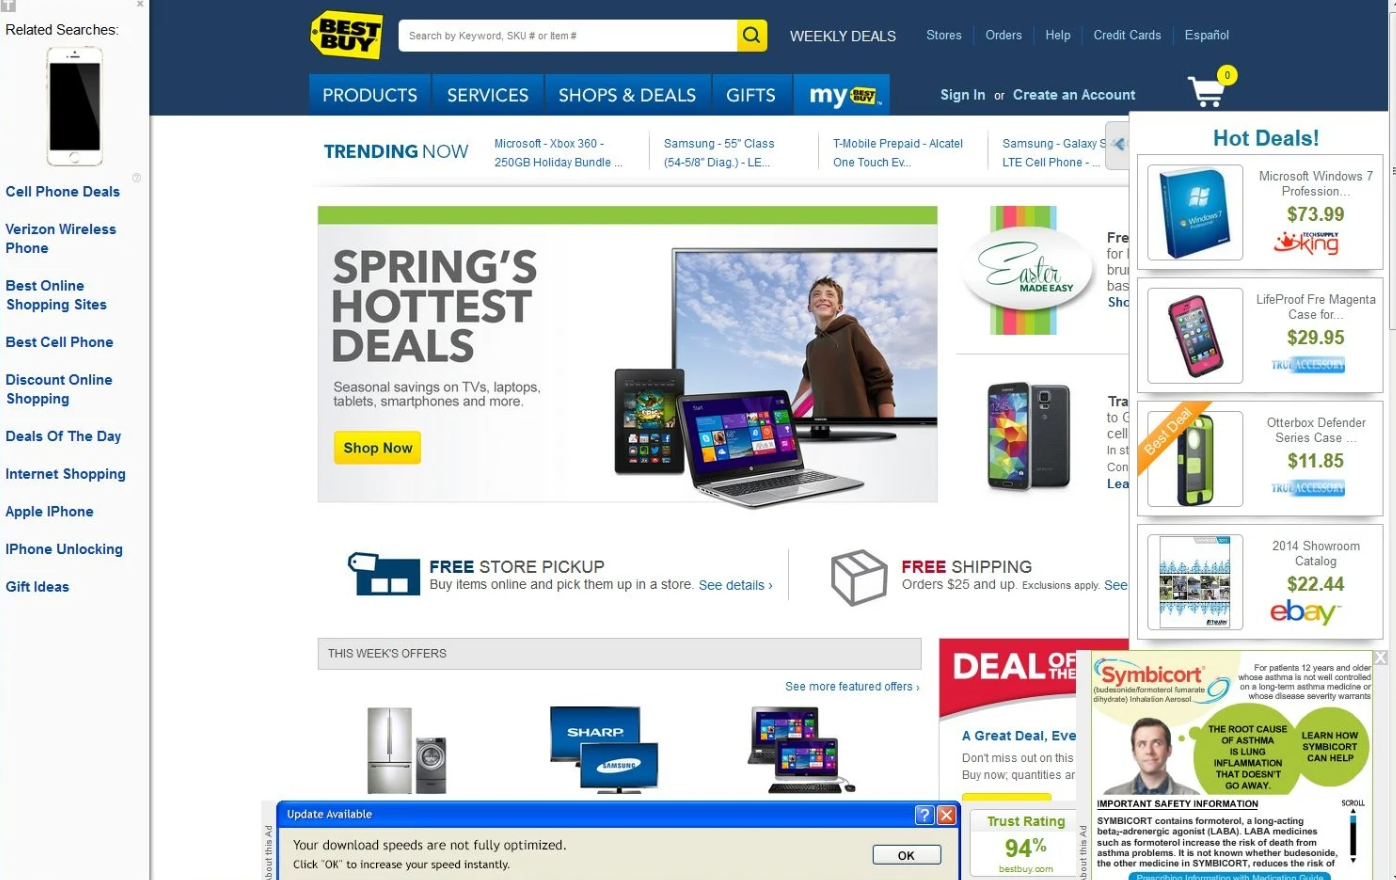
7. Avoid Dangerous Pop-Ups
Although pop-up windows may seem merely annoying—wasting your time and slowing down your PC—they can also pose serious risks by infecting your device with malware. These pop-up banners are harmless until you click on them, which activates their damaging effects. Therefore, it’s crucial to be discerning about what you click on. To protect yourself, consider using an ad blocker or avoid visiting sites known for dubious pop-ups. If ad blockers don’t cut it, your device might already be compromised by malware. Scan your device with anti-malware software to eliminate any such threats and further secure Windows 10.
8. Install Anti-malware
Antivirus software will be your next level of protection against malware. For example, GridinSoft Anti-Malware can remove all malware from your computer. In addition, it scans the system for viruses, spyware, and adware and prevents rootkits or backdoors from invading your PC.
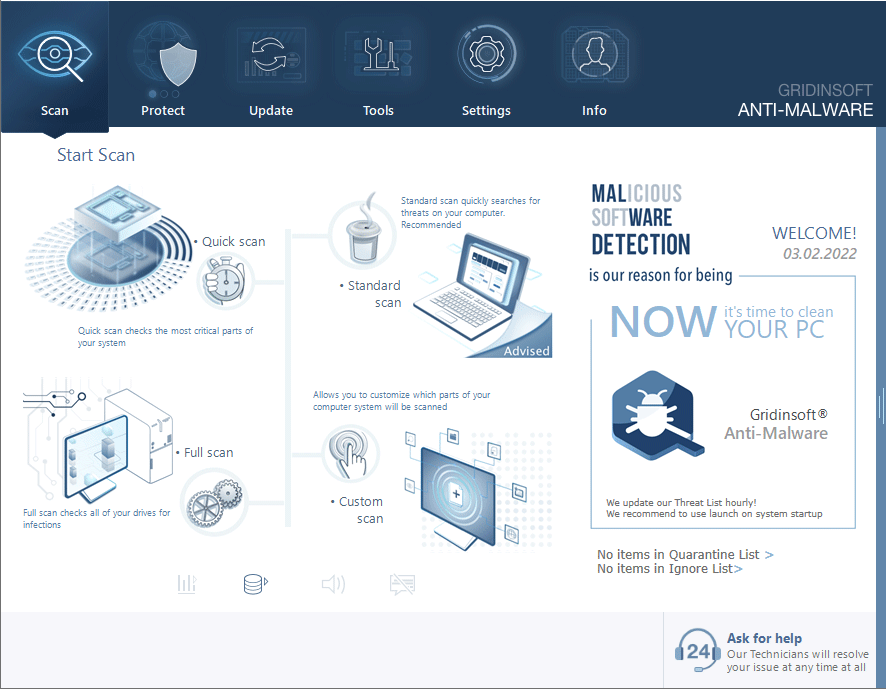
Download and install Anti-Malware by clicking the button below. After the installation, run a Full scan: this will check all the volumes present in the system, including hidden folders and system files. Scanning will take around 15 minutes.
After the scan, you will see the list of detected malicious and unwanted elements. It is possible to adjust the actions that the antimalware program does to each element: click "Advanced mode" and see the options in the drop-down menus. You can also see extended information about each detection - malware type, effects and potential source of infection.
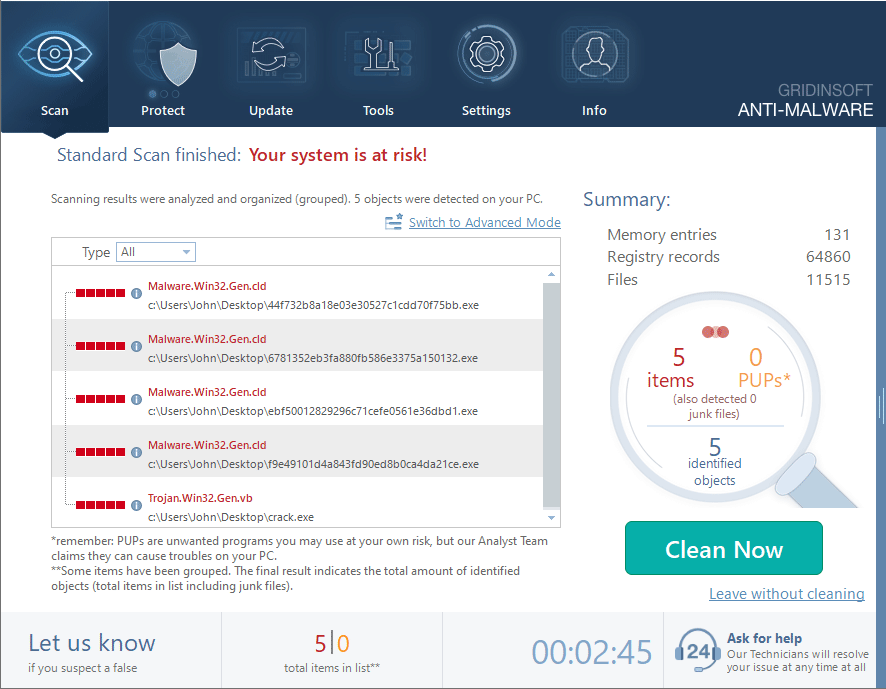
Click "Clean Now" to start the removal process. Important: removal process may take several minutes when there are a lot of detections. Do not interrupt this process, and you will get your system as clean as new.
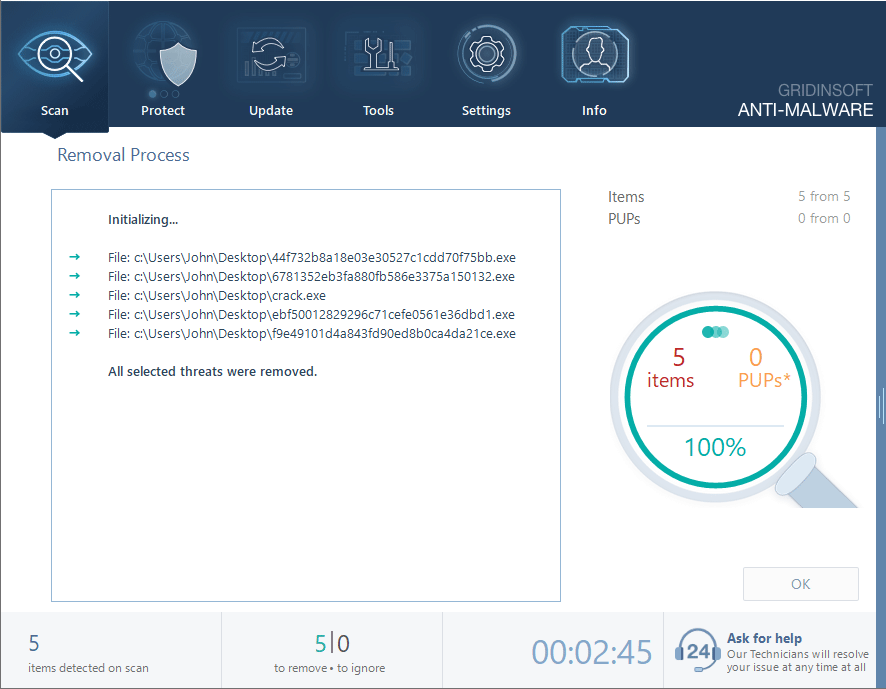
Our tool can work without conflict with other antivirus programs as additional protection. GridinSoft Anti-Malware can free the user’s browser from third-party control and return it to its working state.

