ZoomFind is a Chrome extension that may unexpectedly appear among the others, causing the browser to redirect your search queries. It belongs to the class of browser hijackers and poses a less obvious danger to anyone who keeps using the system. Removing this unwanted extension is not an easy task, so in this post, I will explain its origins and show how to remove it for good.
Overview
ZoomFind is a specific type of malware that aims at taking over the web browser, changing its behavior to the liking of malware masters. In this particular case, all search queries are getting redirected to malicious search engines – Finditfasts.com and Potterfun.com.
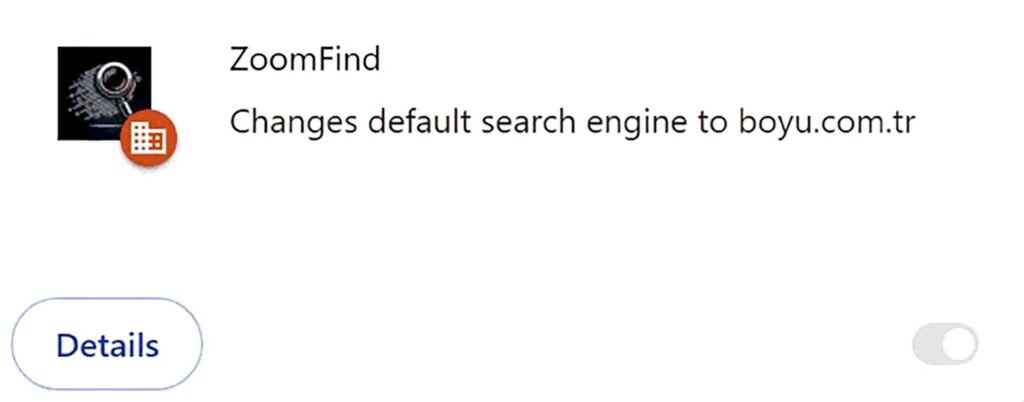
To complicate counteractions from the user, this extension exploits a remote management feature of Google Chrome and Chromium browser known as “Managed by your organization”. This line appears in settings once ZoomFind is installed, rendering any attempts to change settings or remove the extension fruitless.
Over the last couple of months, search hijacker-type rogue extensions have become prevalent. ZoomFind hijacker falls into this category by all the parameters. They route user searches to a different search engine, the one controlled by fraudulent actors. This can end up with quite worrying consequences, especially when the user pays no attention to where they click.
How does it work?
Like a PrimeLookup or SwiftSeek Extension, a ZoomFind falls into the category of search hijacker plugin. Key elements of its activity are about intercepting all the search queries made by the user and routing them through malicious search systems. With this specific plugin, Potterfun.com is the final destination, though this may change in other similar rogue extensions. In the process of redirection, however, an intermediary website shows up, where additional query parameters are added. This is what leads to the main danger of the attack scheme.
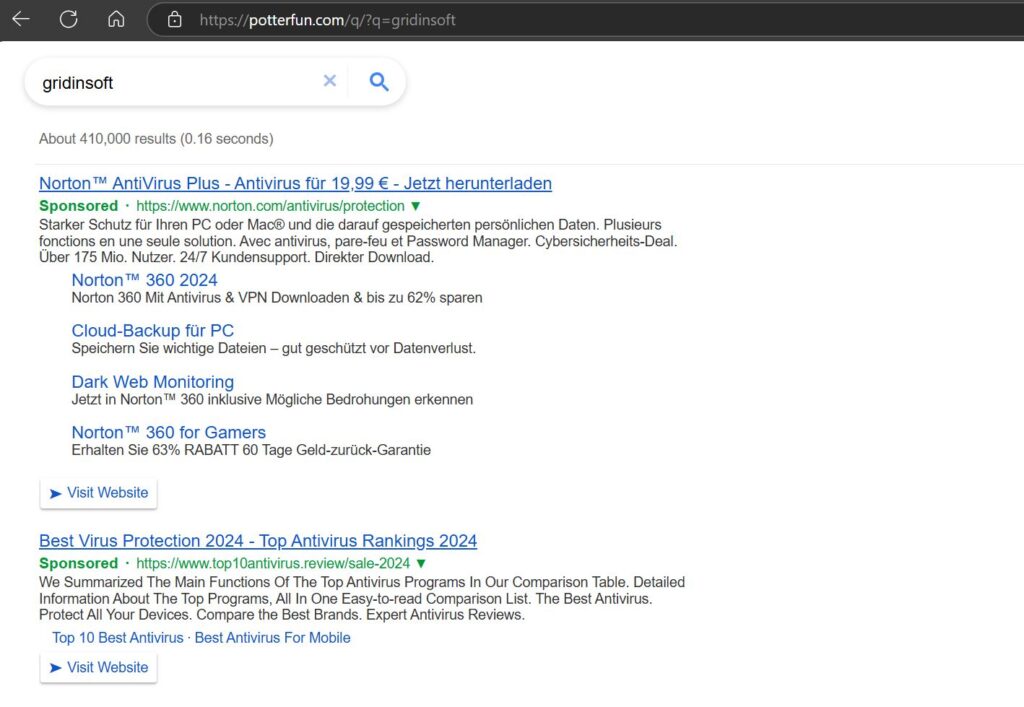
When the user types their search query, instead of Google (or the search engine of their choice) they see the results of Potterfun.com, additionally infused with search ads. And this is the major point of concern: these ads contain a lot of phishing pages and scams. Not like Google or Bing contain 100% safe promotions, but in these cases, dangerous results are meant to be here. Following them (which may easily happen for users who don’t understand what is happening) will certainly lead to credentials leak, money loss, or even malware injection.
Spreading Ways
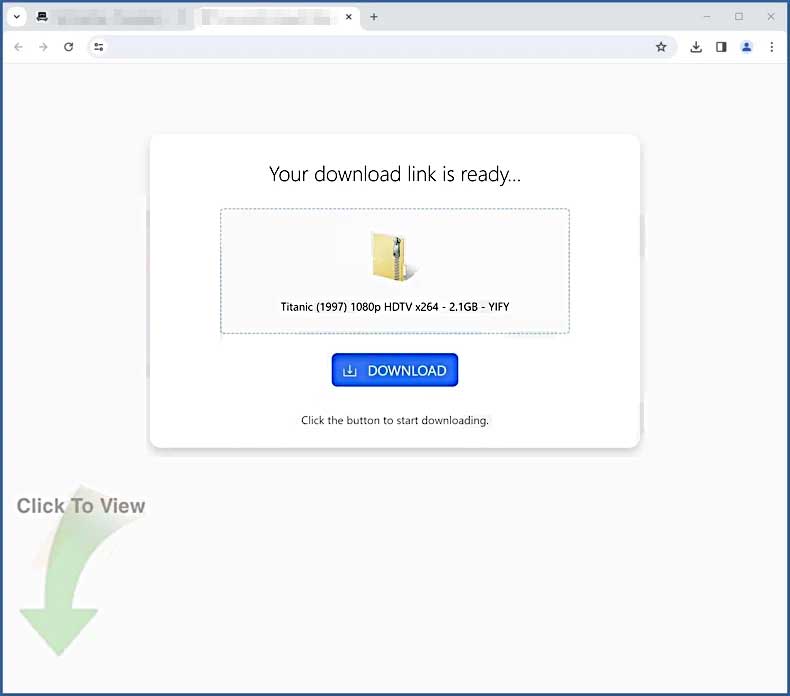
In the majority of cases, users get infected with ZoomFind through fraudulent software sharing/downloading websites. They can offer unwanted extensions under the guise of a desired program, a game mod, or sometimes even a film. Unsuspecting folks click the downloaded file and in fact, install the malicious extension.
Sometimes users may see not a file sharing site, but a fake bot protection page, that requires one to confirm they’re a human by installing the “security browser plugin”. The outcome may be different, as quite a lot of other viruses use the same scheme. We have a special article regarding these fake human verification – consider checking that out.
Despite generally aiming at fraudulent spreading ways, it was available from the Chrome Web Store for a short period of time. It is likely done to legitimize the extension: users won’t see the warning in the Extension tab, and will find it through search in the Web Store. Nonetheless, it is not even remotely safe, as I’ve proven above.
How to Remove ZoomFind?
There are two options for removing ZoomFind, an automated approach and a manual one. I recommend sticking to automated, as it will eliminate the malicious extension and all other unwanted elements. Still, you can try undoing the extension manually, even though it is time consuming and requires certain amount of PC skill.
Using Anti-Malware
To get rid of the ZoomFind extension automatically, run a Full scan with GridinSoft Anti-Malware. This will take about 15 minutes, and will remove the malware even from the most remote parts of the system.
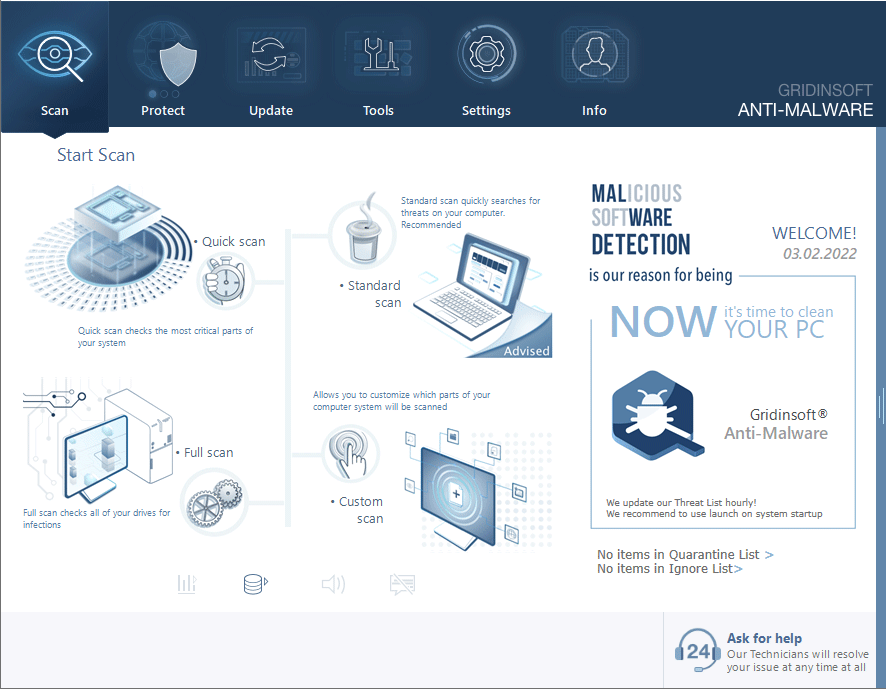
Download and install Anti-Malware by clicking the button below. After the installation, run a Full scan: this will check all the volumes present in the system, including hidden folders and system files. Scanning will take around 15 minutes.
After the scan, you will see the list of detected malicious and unwanted elements. It is possible to adjust the actions that the antimalware program does to each element: click "Advanced mode" and see the options in the drop-down menus. You can also see extended information about each detection - malware type, effects and potential source of infection.
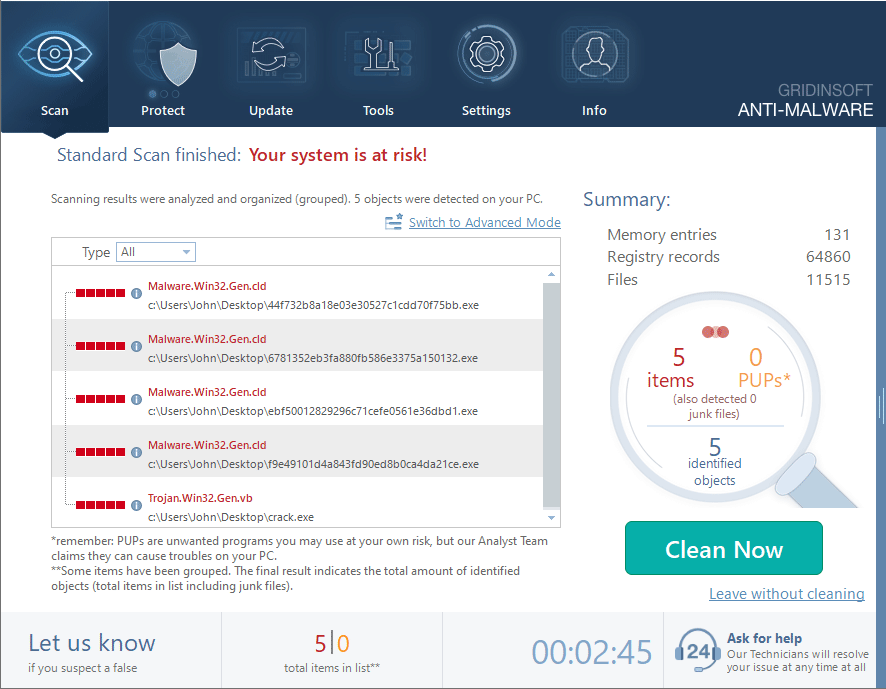
Click "Clean Now" to start the removal process. Important: removal process may take several minutes when there are a lot of detections. Do not interrupt this process, and you will get your system as clean as new.
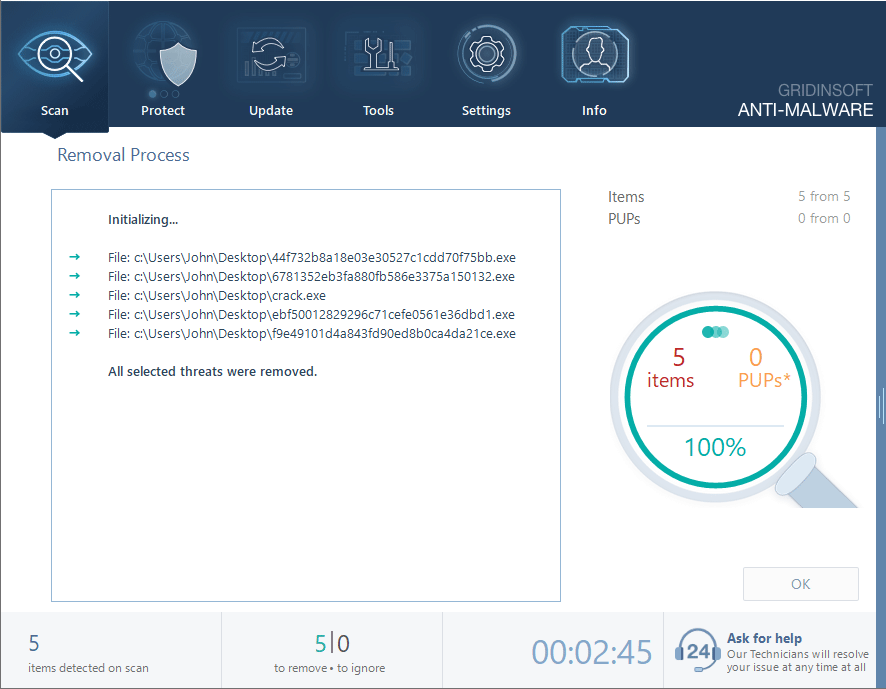
Manual Removal Steps
To delete ZoomFind manually, you will need to undo the changes it has made to the system. This involves going through the system registry, and also Group Policies list. Please, follow these steps thoroughly, so nothing will restrict you from deleting the pesky extension.
Step 1. Group Policies Removal
First step in dealing with Managed by your organization is to remove policies that the malware changes to enable this state. This method does not require having access to Group Policies Editor, which is unavailable for non-Pro editions of Windows. All you have to do is find and remove all the folders listed below. Note: their deletion will require administrator privileges.
Windows\System32\GroupPolicy

Windows\System32\GroupPolicyUsers

ProgramFiles(x86)\Google\Policies

ProgramFiles\Google\Policies
Step 2. Removing Registry Keys
Next step is going through the registry keys that may contain malicious configurations. Press the Win+R combination, and type “regedit” in the search window. This will get you to the Registry Editor; there, find and delete the keys you see below.
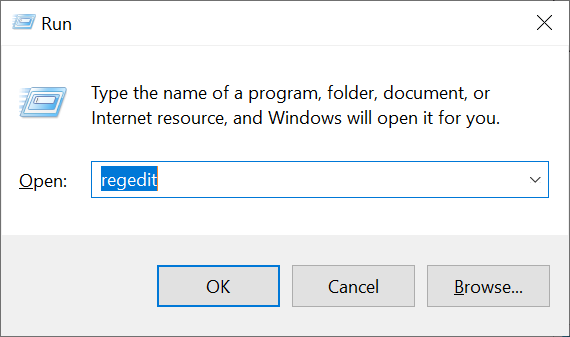
HKEY_LOCAL_MACHINE\Software\Policies\Google\Chrome

HKEY_LOCAL_MACHINE\Software\Policies\Google\Update

HKEY_LOCAL_MACHINE\Software\Policies\Chromium

HKEY_LOCAL_MACHINE\Software\Google\Chrome

HKEY_LOCAL_MACHINE\Software\WOW6432Node\Google\Enrollment

HKEY_CURRENT_USER\Software\Policies\Google\Chrome

HKEY_CURRENT_USER\Software\Policies\Chromium

HKEY_CURRENT_USER\Software\Google\Chrome

"HKEY_LOCAL_MACHINE\Software\WOW6432Node\Google\Update\ClientState\{430FD4D0-B729-4F61-AA34-91526481799D}" /v "CloudManagementEnrollmentToken"
Not all keys may be present, as it depends on installed software, browser configurations, malware that did the changes and other things. Nonetheless, you should delete all the keys you can find.
Once done, reboot your computer to apply the changes. Then, you should be able to edit any of the Chrome settings and remove any browser extensions that may have previously been blocked from editing.

