SearchHost is a process responsible for indexing the Start menu and Explorer search files in Windows 10/11. It allows you to conveniently search for files on your computer by indexing their contents. However, this process can be spoofed by a coin miner or malware that uses its name to masquerade on your system. How to know if this process is a virus? And what should I do in the case of searchhost.exe high memory and GPU usage? Here is our detailed guide.
What is SearchHost.exe?
SearchHost.exe is a process that is part of the Windows Search Indexer service. This service starts automatically at system startup and runs in the background. It scans the files on your computer and creates an index that speeds up searching for files through the start menu and Explorer. You can customize the indexing settings by choosing which folders and file varieties to include or exclude from the index. It is also possible to pause or resume indexing at any time.
Typically SearchHost.exe is located in the C:\Windows\SystemApps\MicrosoftWindows.Client.CBS_cw5n1h2txyewy folder. This is the default location for this process, and if you find it in a different folder, it could be a sign of a virus. SearchHost.exe is not essential to the operation of the system, but it is useful for the convenience of finding files. If you don’t use search often, you can disable SearchHost.exe the Windows Search Indexer service to save system resources.
High CPU/GPU and memory usage – Why does this happen?
SearchHost is responsible for indexing the Start Menu and Explorer search files in Windows. Typically, this process does not require a lot of computation power, but there are certain situations here when things are different.
SearchHost High CPU Consumption
During the initial indexing process, Searchhost.exe may create quite a load on your CPU, especially on weaker systems. If it is uncomfortable to use the system, you can do the following:
- Wait for indexing to finish. You can see the indexing progress in the Search and indexing settings. This can take from a few minutes to a few hours, depending on the number and size of files on your computer.
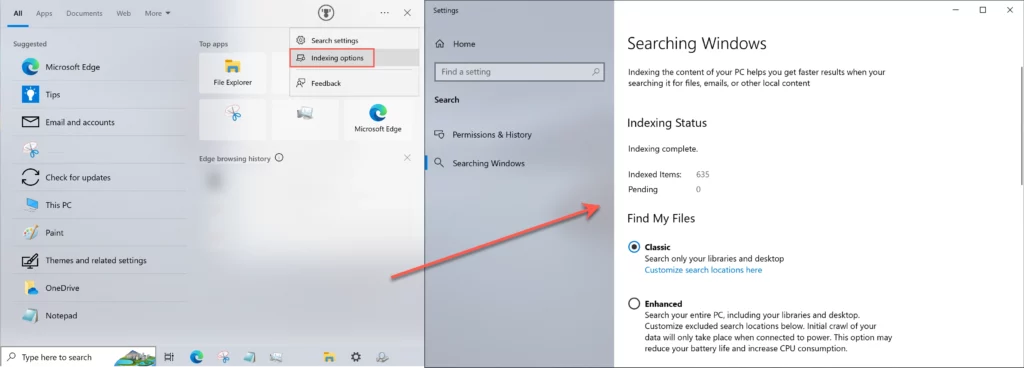
Indexing settings - Pause the indexing process. You can pause indexing for 15 minutes, 1 hour, or until your computer restarts. To do this, right-click on the search icon in the taskbar and select Suspend Indexing.
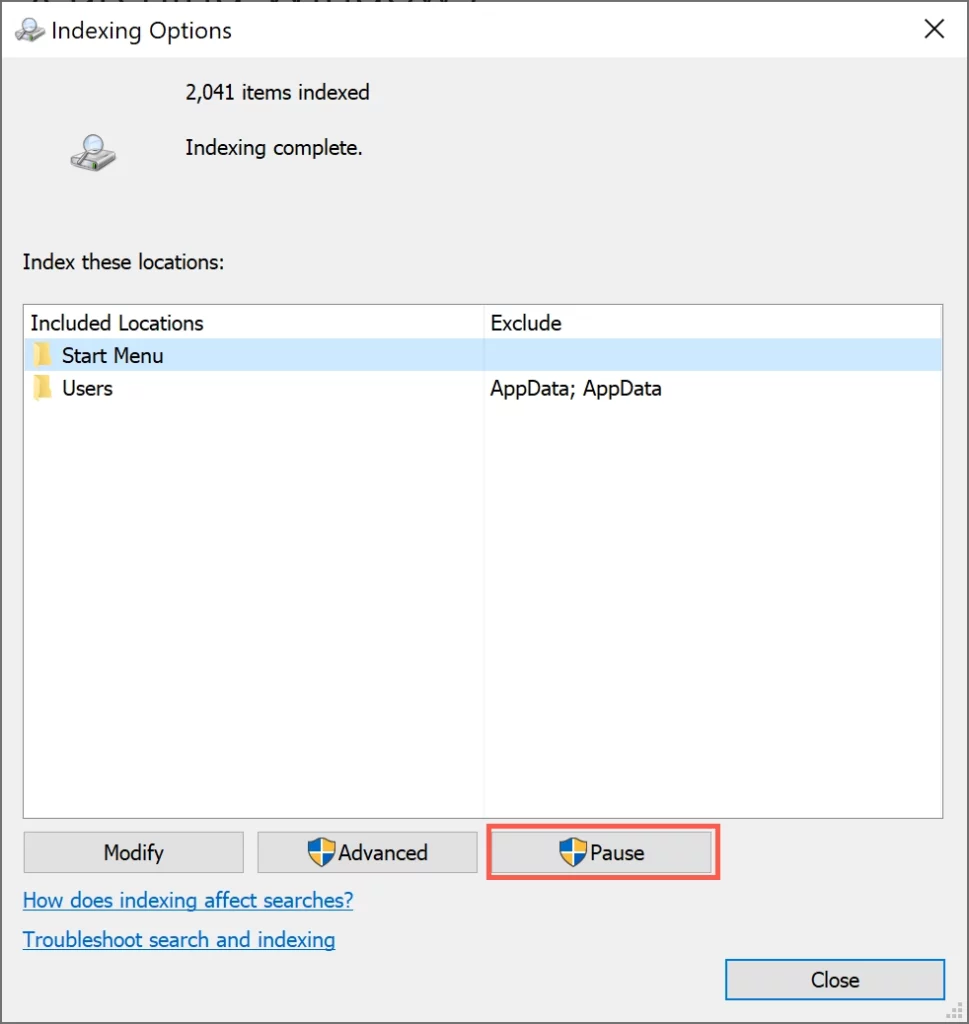
- Customize indexing options. You can choose which folders and types of files to include or exclude from the index. To do this, open the search and indexing settings and click the “Advanced”. You can also change the indexing schedule so that it happens at a time that is convenient for you. This way, you may reduce the time required to finish the indexing or decrease the load it creates.
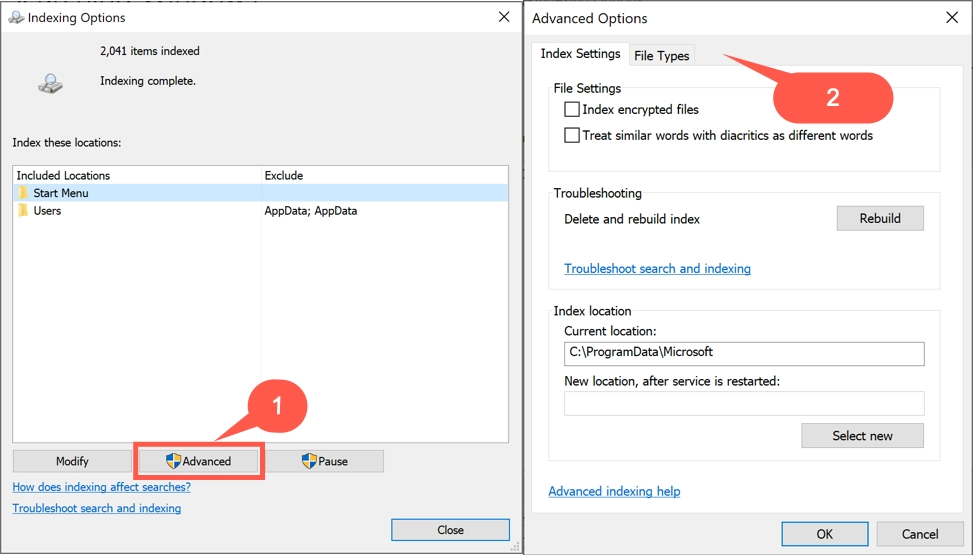
Advanced Options - Disable the Windows Search Indexer service. You can turn off the Windows Search Indexer service if you don’t use search often or don’t need to index files:
- Open the Services Manager, find the Windows Search service, right-click on it, and select Stop.
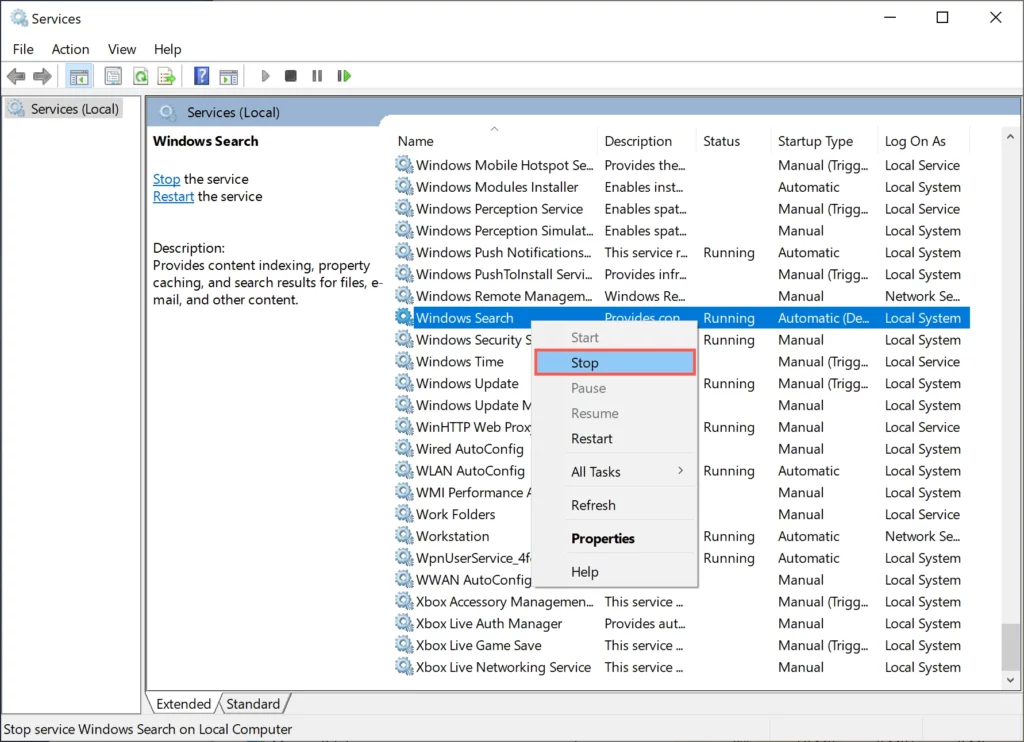
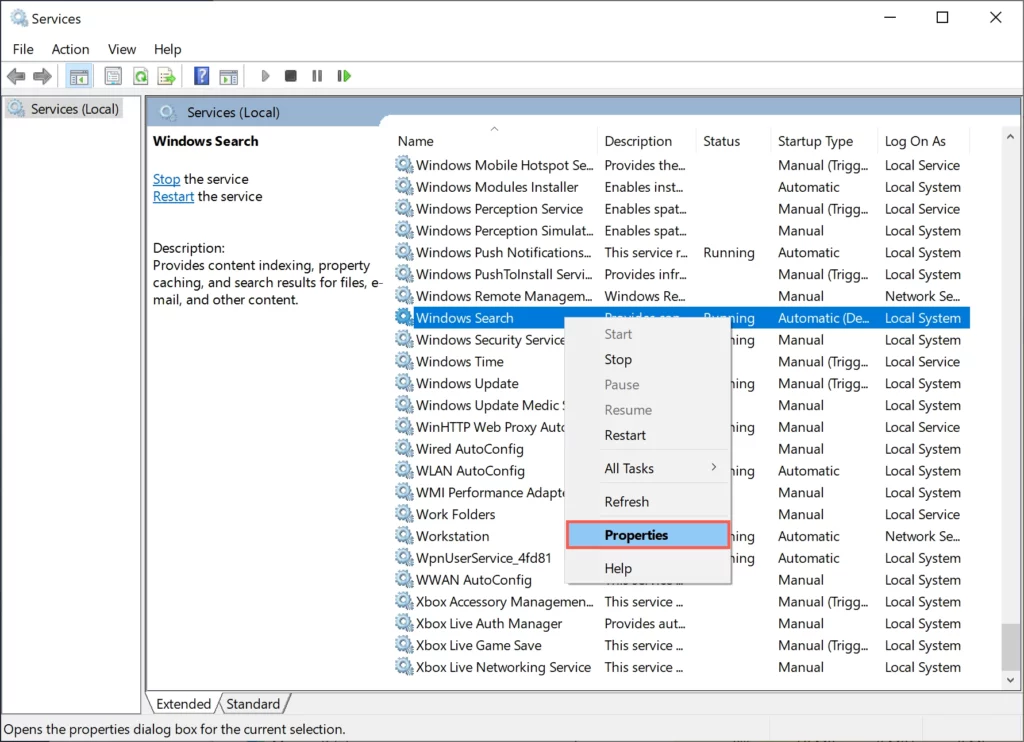
Services Manager - Then right-click on it again and select “Properties”.
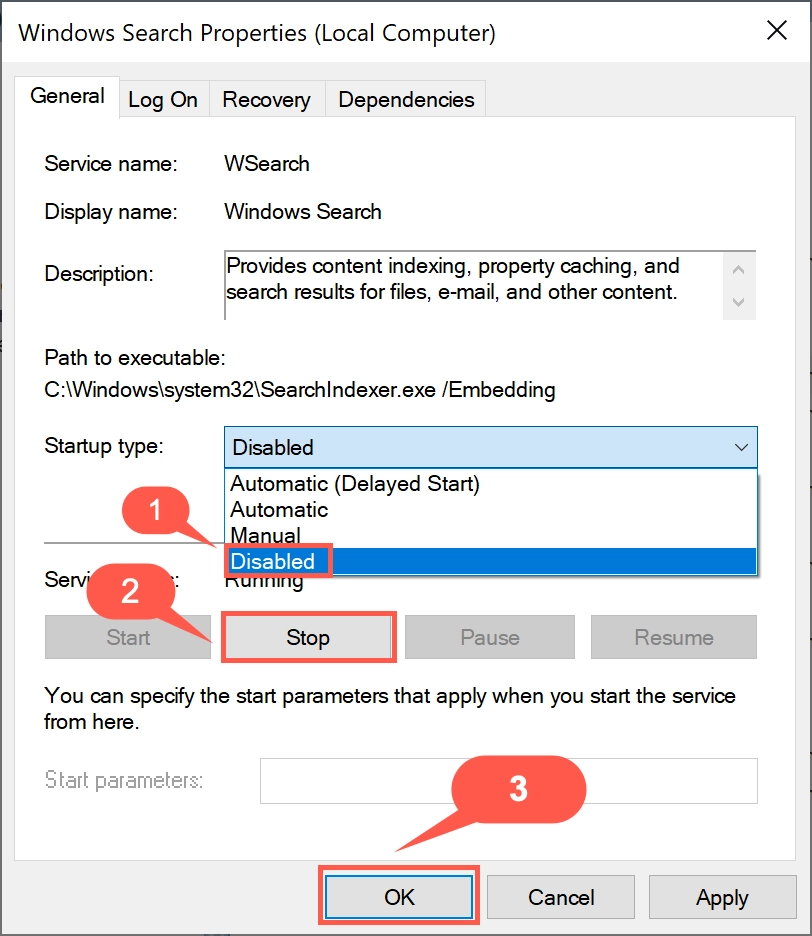
- In the “Startup Type” field, select “Disabled” and click “OK”.
- Open the Services Manager, find the Windows Search service, right-click on it, and select Stop.
- In case you cannot manually disable this service, you can prevent SearchApp.exe from running by following the instructions below:
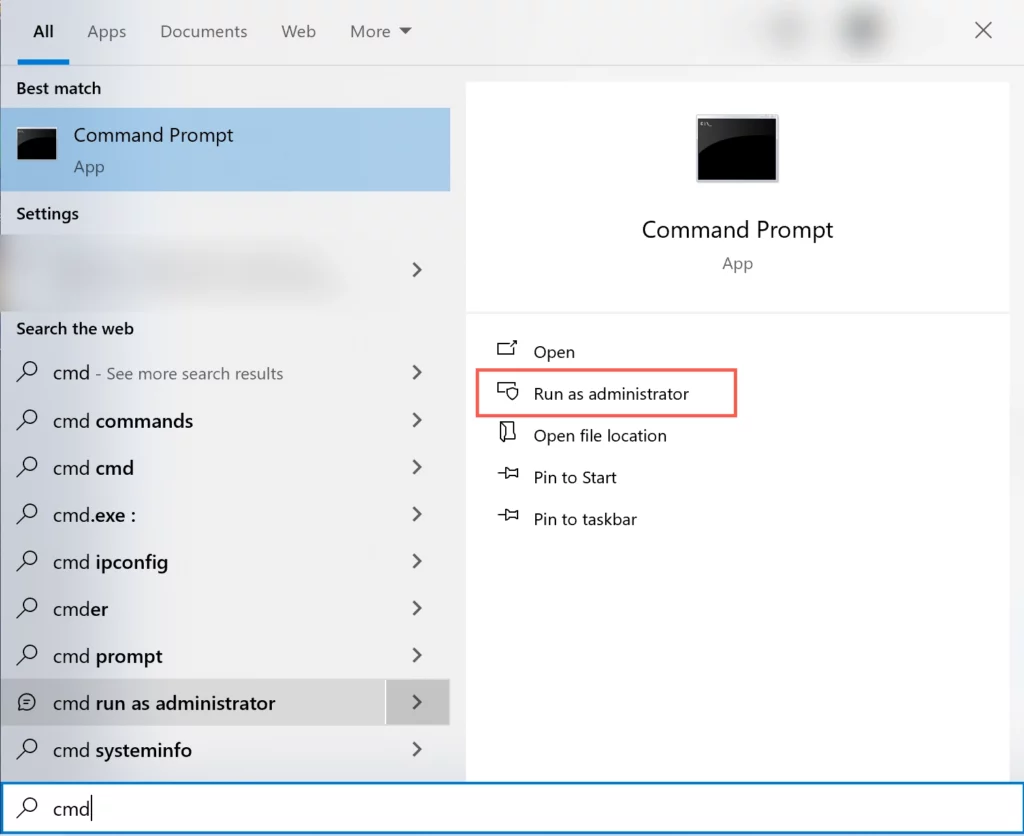
- Type cmd in the search box and click Run as administrator to open elevated Command Prompt.
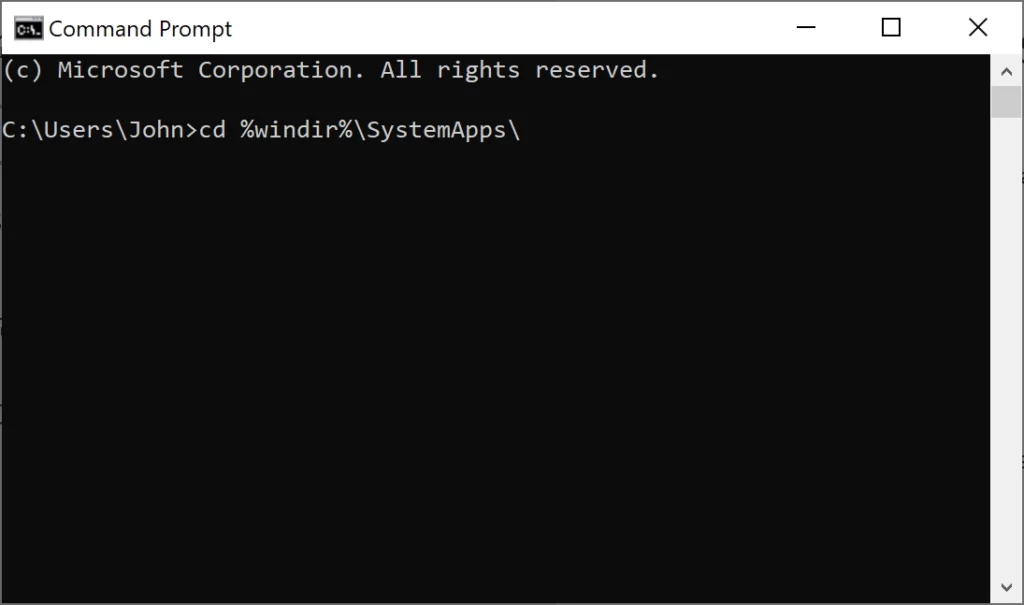
- In the Command Prompt window, type the command below and press Enter to execute it. This will launch System Applications on your computer.
cd %windir%\SystemApps\
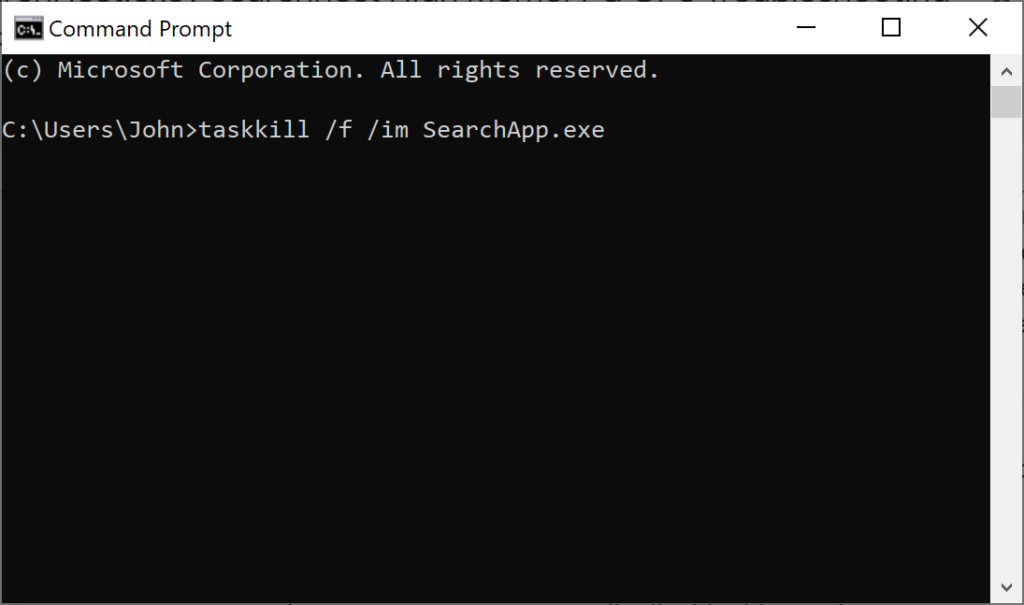
- Then, execute the following command to delete the process.
taskkill /f /im SearchApp.exe
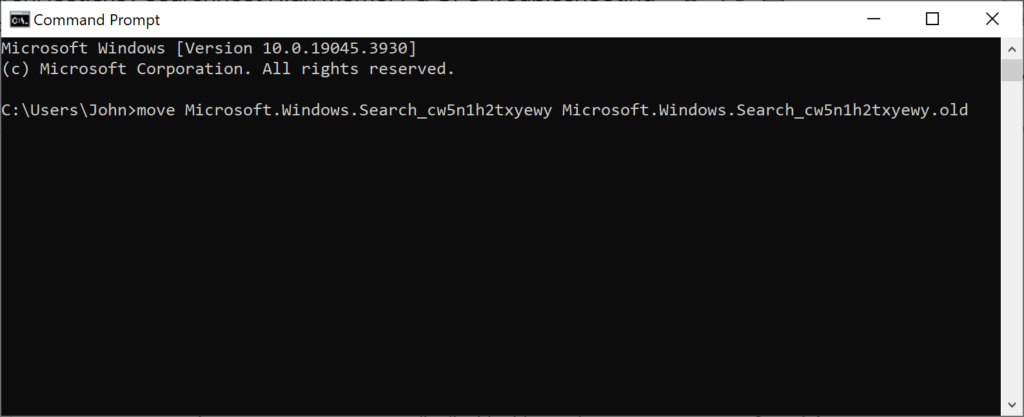
- After all, execute this last command:
move Microsoft.Windows.Search_cw5n1h2txyewy Microsoft.Windows.Search_cw5n1h2txyewy.old
- Type cmd in the search box and click Run as administrator to open elevated Command Prompt.
SearchHost High GPU Consumption
The SearchHost.exe process may actively load your discrete video card to index new files and features. This is particularly a thing in Windows 10 past the 2004 update. System uses a GPU to perform the same indexing operations, though it is not always desirable for the user. You can disable the service in the same way as in the case with high CPU load – see the instruction above.
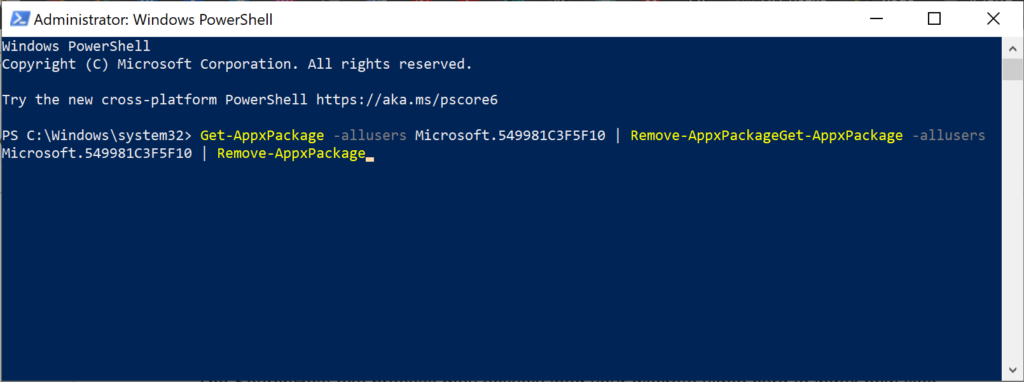
Additionally to completely remove Cortana, run this command in Administrator-level Powershell:
Get-AppxPackage -all users Microsoft.549981C3F5F10 | Remove-AppxPackage
SearchHost High Memory Consumption
If SearchHost.exe is taking up a lot of memory, you can do the following:
Indexer Troubleshooting
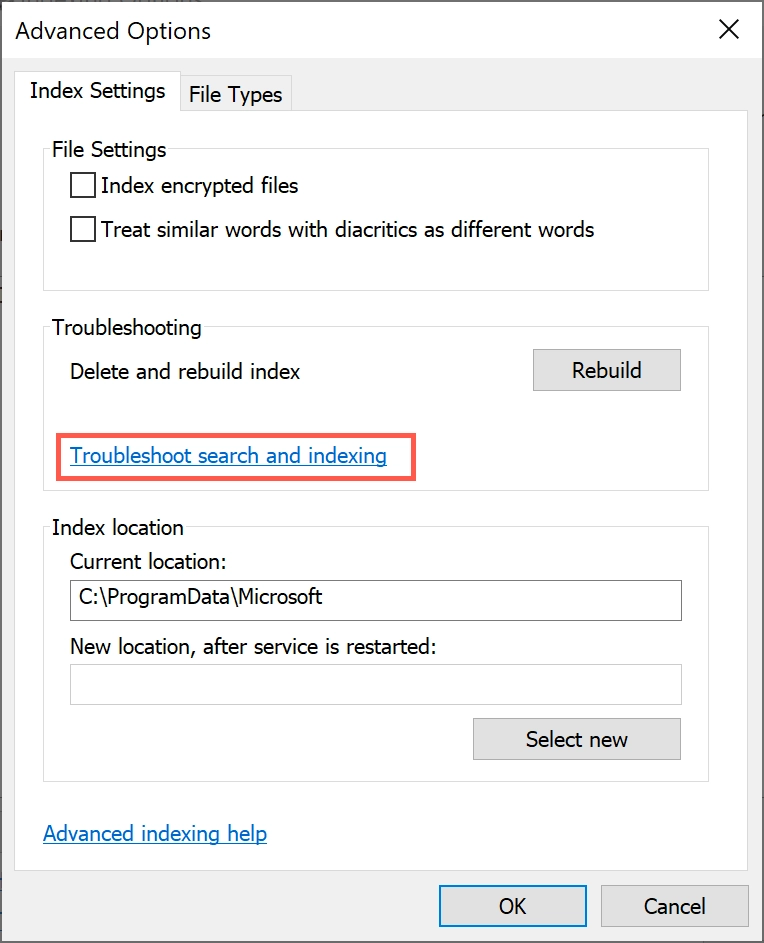
Run Search and Indexer Troubleshooting. You can run search and indexing troubleshooting, which can fix some errors and problems related to the operation of the Windows Search Indexer service.
- Open the Search and Indexer settings and click on “Troubleshoot search and indexing”.
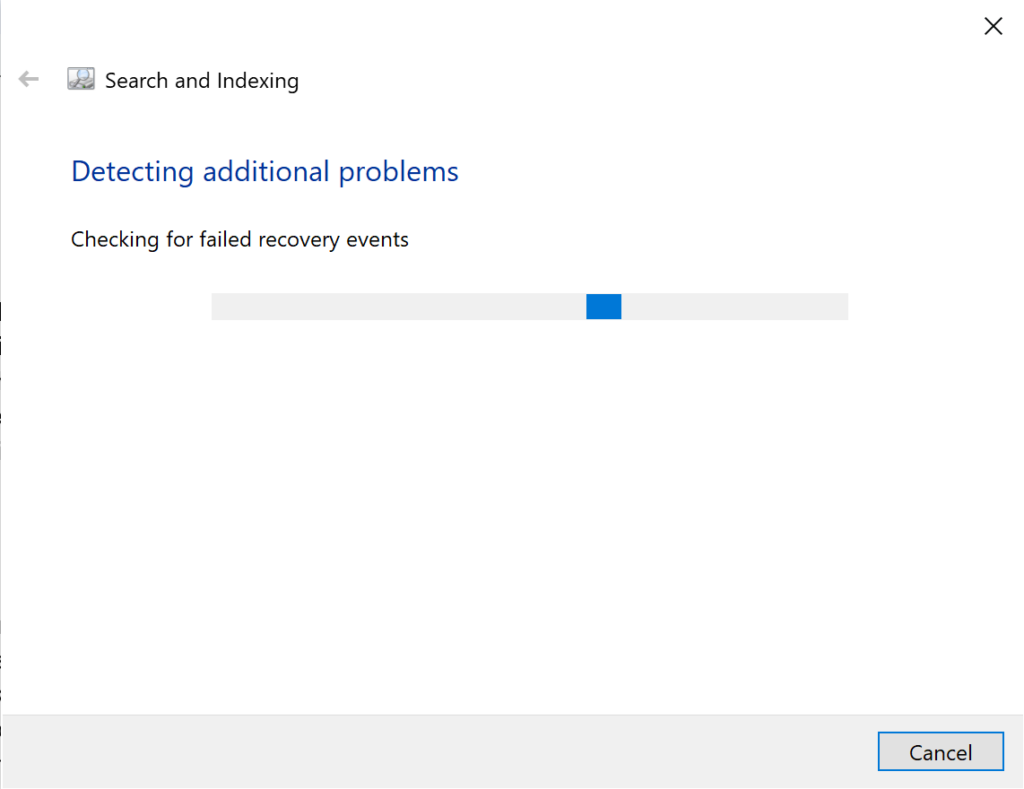
- After the verification process, you will be prompted to restart your computer if required.
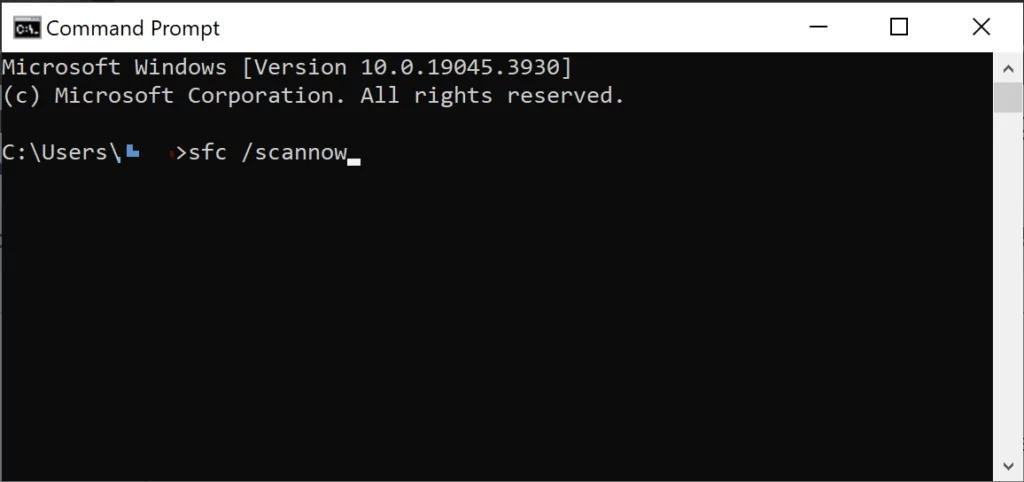
- Run the SFC command. This can check and repair corrupted system files that may be affecting the Windows Search Indexer service.
- Open a Command Prompt as administrator and type:
sfc /scannow
- Wait for the scan to finish and restart your computer.
Defragment the disk
This will improve speed and performance of your computer. Disk defragmentation merges fragmented files that take up more space and slow down access to them.
- Open Explorer.
- Right-click on the disk you want to defragment and select “Properties”.
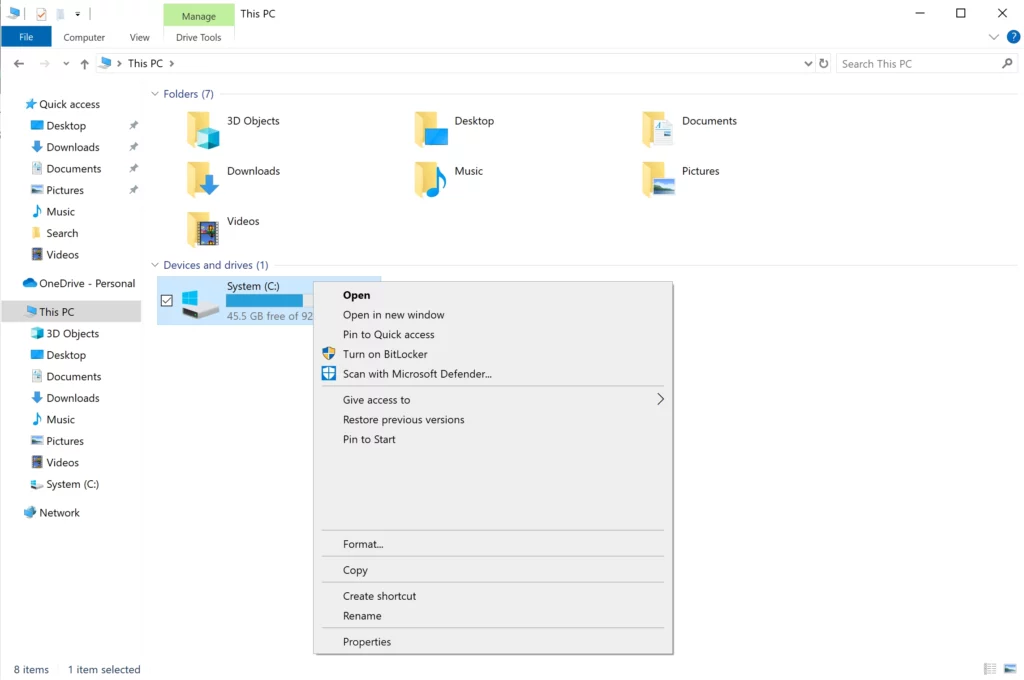
- Choose the “Tools” tab and click on “Optimize”.

Check you computer for malware
If you find any inconsistencies, do not rush to delete the file, as it may lead to undesirable consequences. First, check it for viruses. Consider performing a full system scan with a quality antivirus software like Gridinsoft Anti-Malware and remove all detected threats. You can also check the process file for viruses using an online service such as Online Virus Scanner
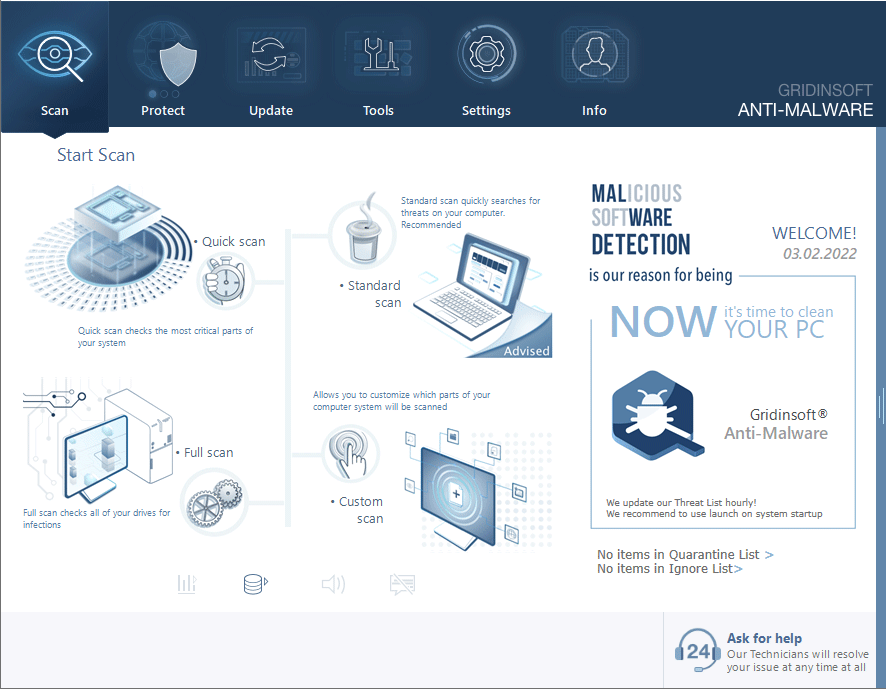
Download and install Anti-Malware by clicking the button below. After the installation, run a Full scan: this will check all the volumes present in the system, including hidden folders and system files. Scanning will take around 15 minutes.
After the scan, you will see the list of detected malicious and unwanted elements. It is possible to adjust the actions that the antimalware program does to each element: click "Advanced mode" and see the options in the drop-down menus. You can also see extended information about each detection - malware type, effects and potential source of infection.
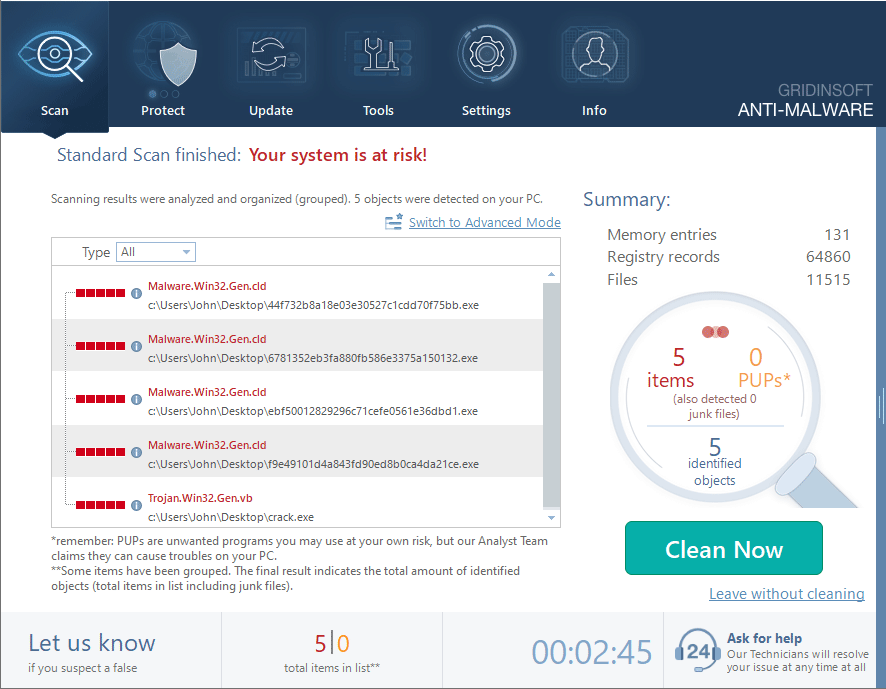
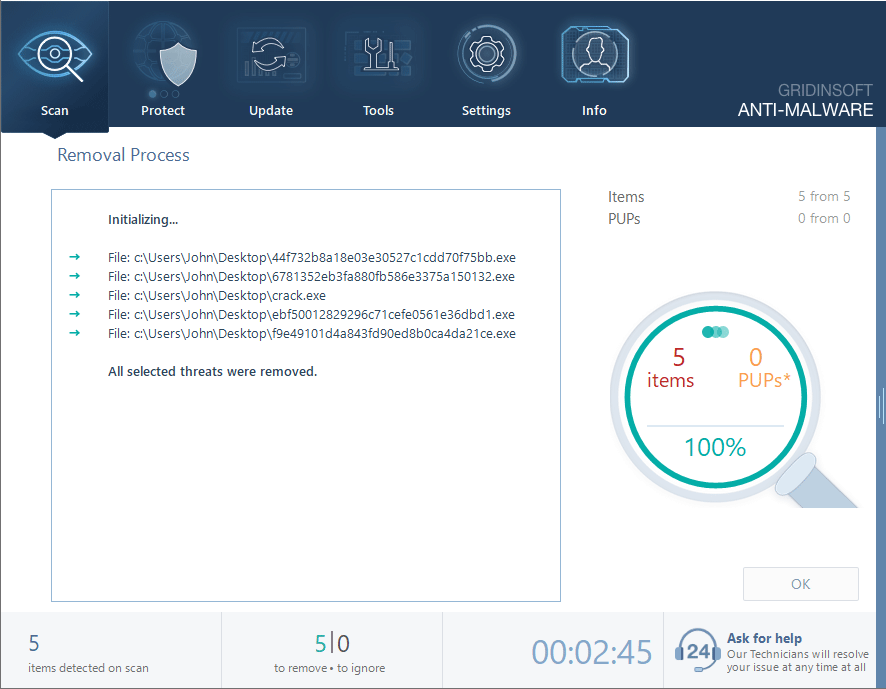
Click "Clean Now" to start the removal process. Important: removal process may take several minutes when there are a lot of detections. Do not interrupt this process, and you will get your system as clean as new.
