In this post, we explore what the DISM Host Servicing Process is. What should you do if it uses too many CPU resources? Can you uninstall DismHost.exe? I will show you several useful solutions for fixing these problems.
What Is the DISM Host Servicing Process?
DISM, which stands for Deployment Image Servicing and Management, is a command-line tool that handles the process of mounting and unmounting Windows image files while installing critical system updates. It is used in the background to deploy and service Windows images safely.
However, regarding the DISM Host Servicing Process or DismHost.exe, there is some conflicting information. Some users claim that it is an important component of the Windows operating system, while some antivirus programs regard it as malware.
In fact, DismHost.exe is a legitimate Windows process. However, sometimes malware may disguise itself as DismHost.exe, which can confuse. Typically, you won’t see any window or icon for this file on the taskbar, as it runs in the background.
Additionally, the DISM Host Servicing Process may lead to several problems, such as:
- Being regarded as malware.
- Causing the Service Host Local System network restricted problem.
- Leading to high disk or CPU usage, usually up to 90%–100%.
- Consuming Internet bandwidth.
Why are so many DismHost.exe in the temp folder?
The presence of DismHost.exe files in the Temp folder is a common issue that users report. It’s often suspected to be a sign of malware. But sometimes there are legitimate reasons why this file might appear repeatedly. This can happen due to errors in Windows system maintenance tasks, such as Disk Cleanup, Windows Update, or Windows Defender scans. These maintenance tasks sometimes create temporary DismHost.exe files to manage operations related to disk imaging, cleanup, and system repair.
If the temporary files are not cleared after the task is completed, they may accumulate over time, filling the Temp folder with multiple DismHost.exe files. Additionally, corrupt system files, incomplete updates, or misconfigured scheduled tasks can also contribute to this accumulation.
Generally, the most common issue is the DISM Host Servicing Process causing high CPU usage. In the following sections, we will show you how to solve the DISM Host Servicing Process high disk usage error.
How to Fix DISM Host Servicing Process High CPU Usage
Let’s try to fix the DISM Host Servicing Process high CPU or high disk usage problem.
Method 1: Disable the Superfetch (SysMain) Service
To fix the DismHost.exe DISM Host Servicing Process high CPU usage problem, you can choose to disable the Superfetch service, which is also known as SysMain in newer versions of Windows.
Here is how to do it:
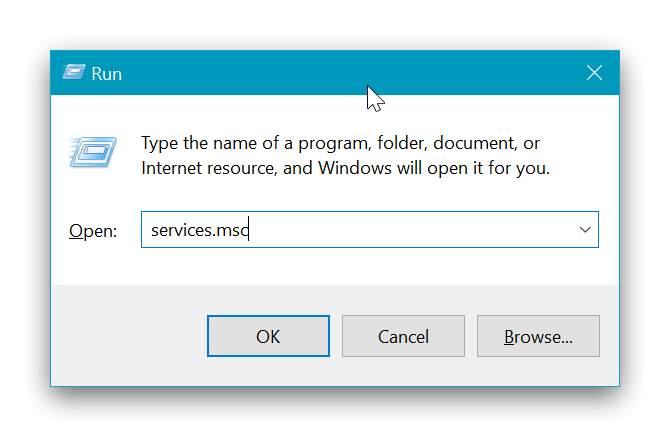
- Press the Windows key + R together to open the Run dialog box.
- In the pop-up window, type services.msc in the box and click OK to continue.
- In the Services window, scroll down to find Superfetch or SysMain and double-click it.
- In the Properties window: Change the Startup type to Disabled. Click the Stop button to stop the service if it is running.
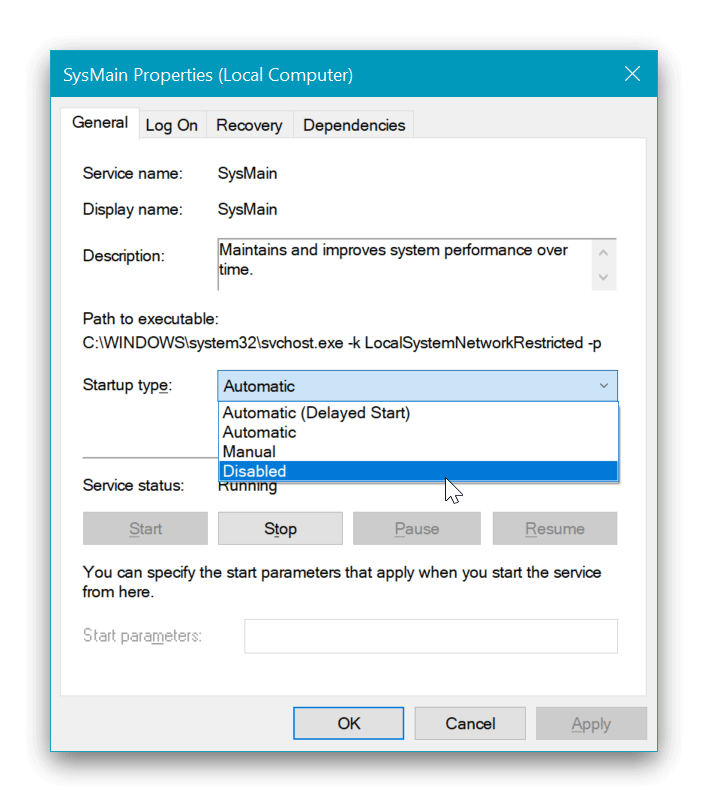
- Click Apply and then OK to save the changes.
After completing these steps, reboot your computer and check whether the DISM Host Servicing Process high CPU usage issue is resolved.
Method 2: Stop the Background Intelligent Transfer Service (BITS)
To fix the DISM Host Servicing Process high disk usage issue in Windows 10, you can choose to stop the Background Intelligent Transfer Service (BITS).
Here is how to do it:
- Press the Windows key + R together to open the Run dialog box.
- Type services.msc in the box and click OK to continue.
- In the Services window, scroll down to find Background Intelligent Transfer Service and double-click it.
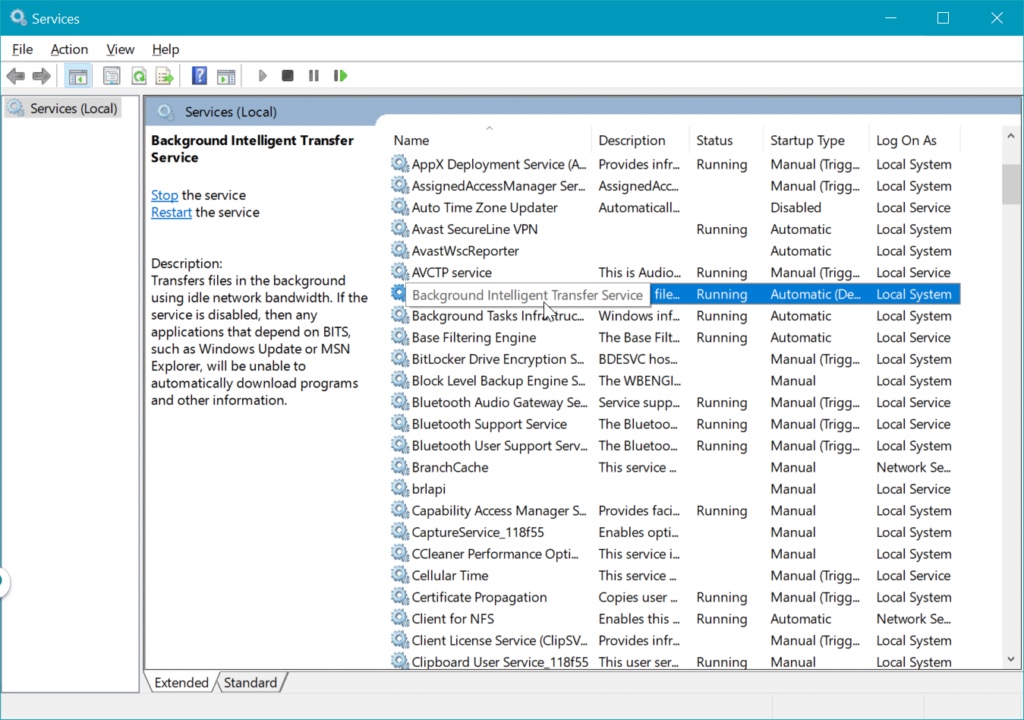
- In the Properties window: Change the Startup type to Disabled. Click the Stop button to stop the service if it is running.
- Click Apply and then OK to save the changes.
After completing these steps, restart your computer and check whether the DISM Host Servicing Process high disk usage issue is resolved.
Method 3: Run a Malware Scan
If a virus or malware is disguising itself as DismHost.exe, Microsoft Defender may not detect it as a threat. This malware could be using your system resources to steal and send information to hackers, leading to the DISM Host Servicing Process high CPU usage issue.
To fix this problem, you can run a malware scan using a Gridinsoft Anti-Malware. Here is how to do it:
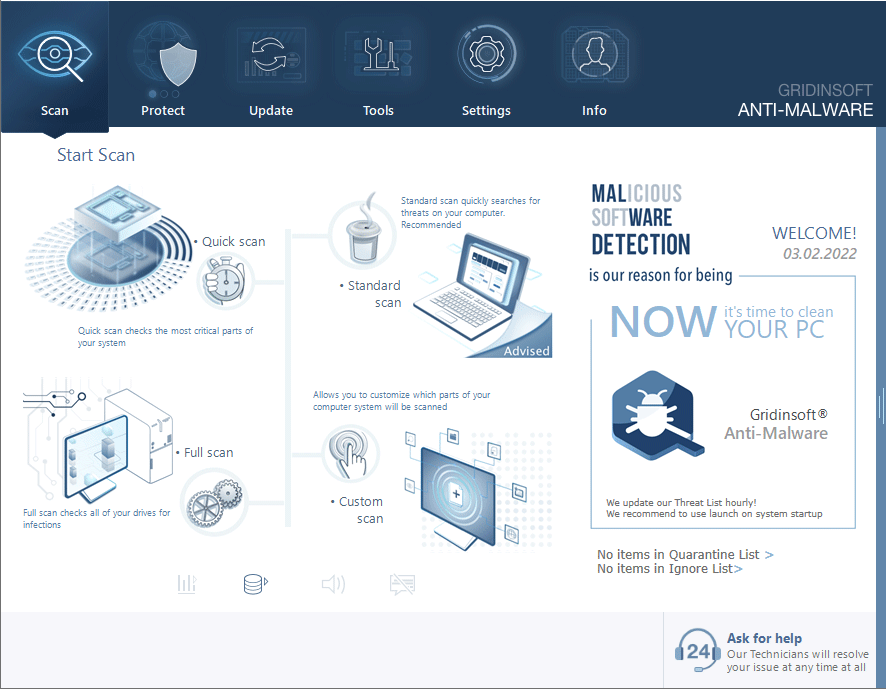
Download and install Anti-Malware by clicking the button below. After the installation, run a Full scan: this will check all the volumes present in the system, including hidden folders and system files. Scanning will take around 15 minutes.
After the scan, you will see the list of detected malicious and unwanted elements. It is possible to adjust the actions that the antimalware program does to each element: click "Advanced mode" and see the options in the drop-down menus. You can also see extended information about each detection - malware type, effects and potential source of infection.
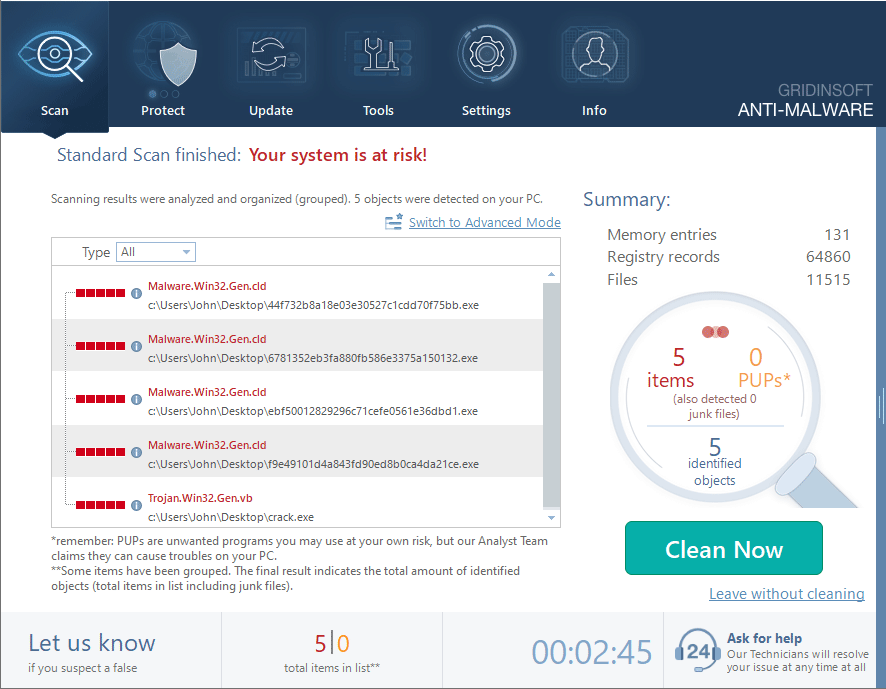
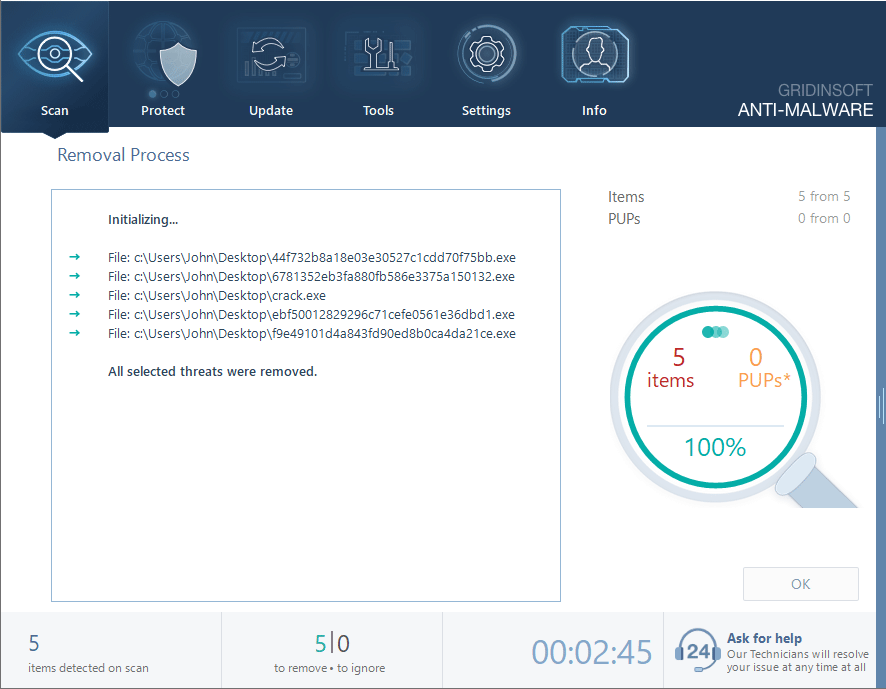
Click "Clean Now" to start the removal process. Important: removal process may take several minutes when there are a lot of detections. Do not interrupt this process, and you will get your system as clean as new.
Method 4: Repair Corrupted System Files
Uninstalling DismHost.exe is not recommended, as it is a legitimate component of the Windows operating system essential for system maintenance and updates. Removing it may cause system instability or prevent Windows from updating properly.
If you’re experiencing high CPU usage due to the DISM Host Servicing Process, it might be caused by corrupted system files. You can use the System File Checker (SFC) and Deployment Image Servicing and Management (DISM) tools to scan and repair these files.
Here is how to do it:
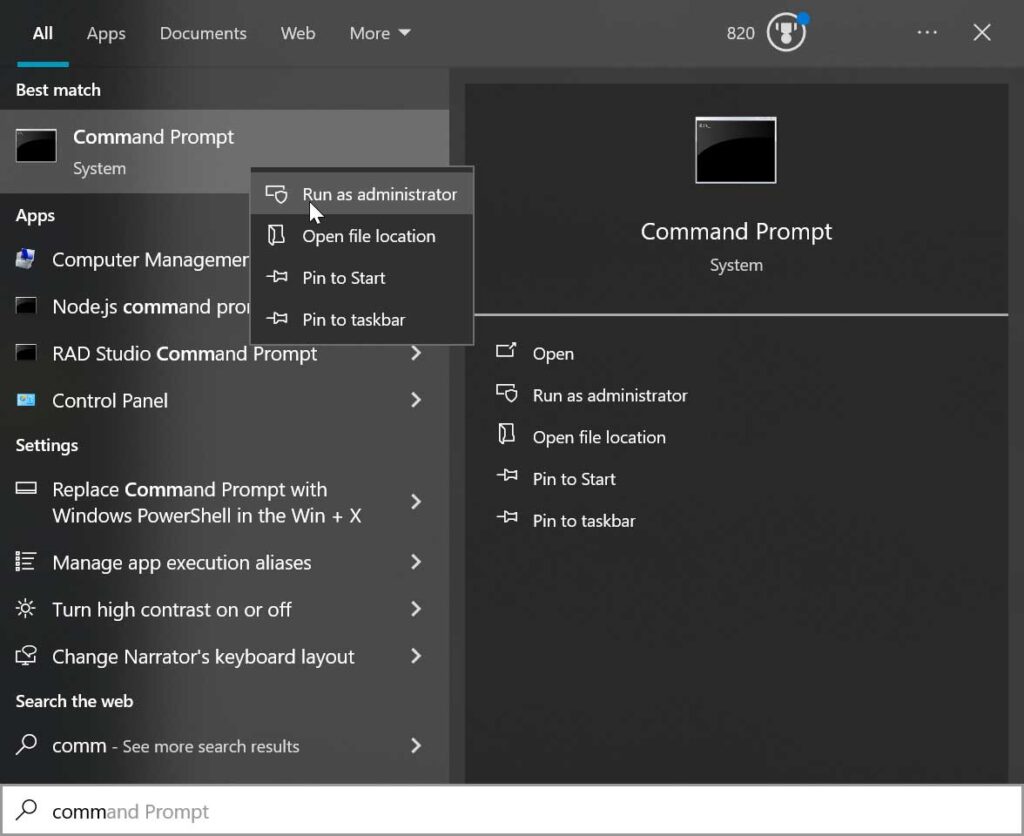
- Press the Windows key, type Command Prompt, right-click on it, and select Run as administrator.
-
In the Command Prompt window, type sfc /scannow and press Enter.
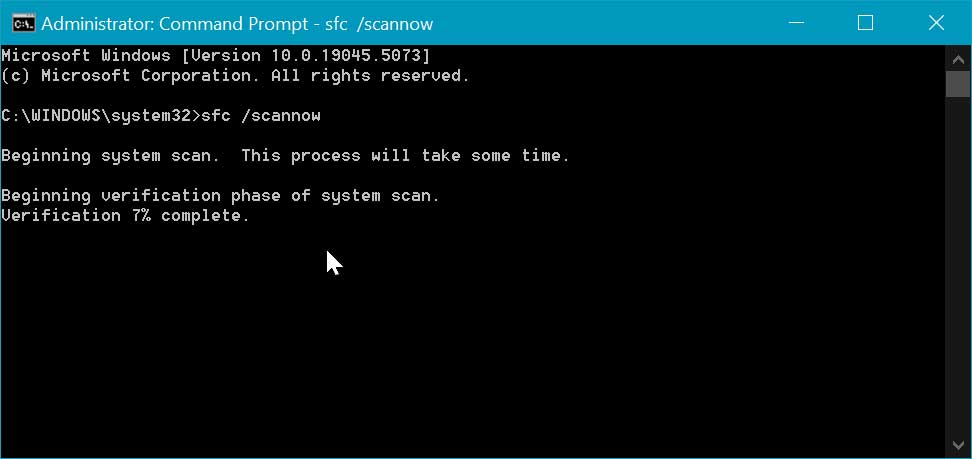
This command will scan all protected system files and replace corrupted files with a cached copy. - Wait for the verification to reach 100%. This may take some time.
If the SFC scan finds and repairs corrupted files, restart your computer and check if the issue persists.
If the problem continues…
If the problem continues, run a DISM scan by typing the following command and pressing Enter:
DISM /Online /Cleanup-Image /RestoreHealth
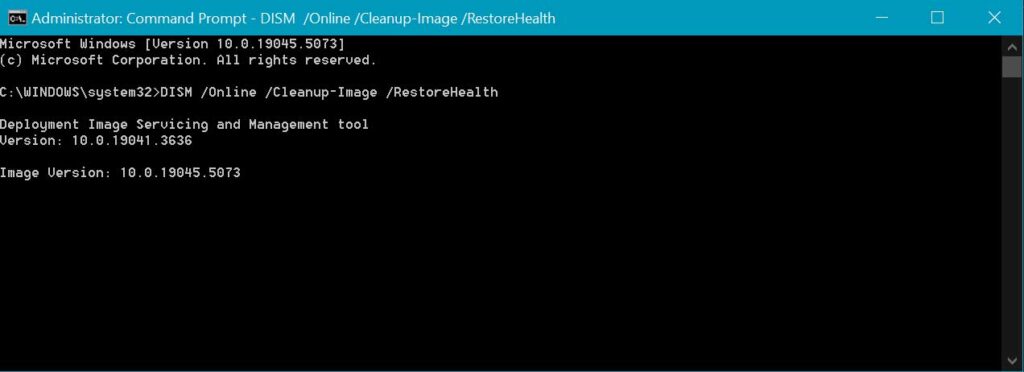
This process might take several minutes. After the DISM scan finishes, restart your computer.
Now, check whether the DISM Host Servicing Process high CPU usage issue is resolved.

